
Drag and move
Moving a 3D object in Magic Poser is very simple and intuitive. Simply tap on the 3D object, hold and drag it to anywhere you want in the scene.
Use the Move menu
For precise movements along the X, Y and Z axis, you can use the Move menu. To open the Move menu:
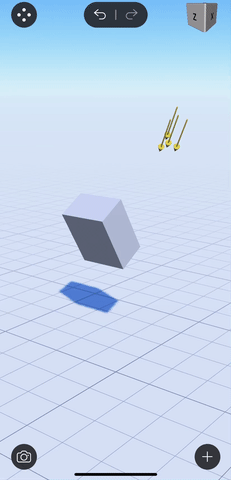
- In 3D Editor, tap to select any 3D object in your scene to open the Action menu at the bottom of the screen. For this example, we will select the default character included in a new scene.
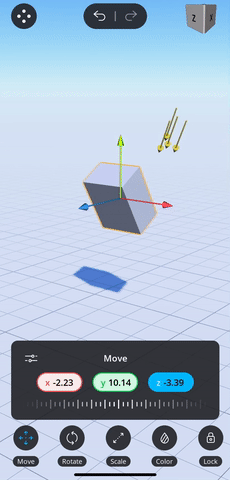
- Then tap the Move icon
 at the bottom far left part of the Action menu.

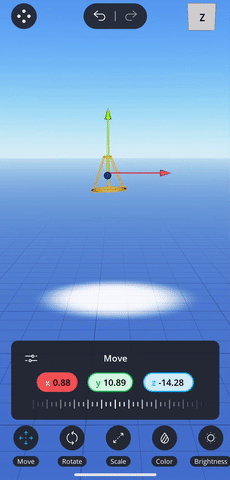
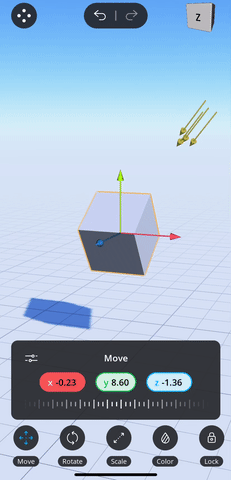
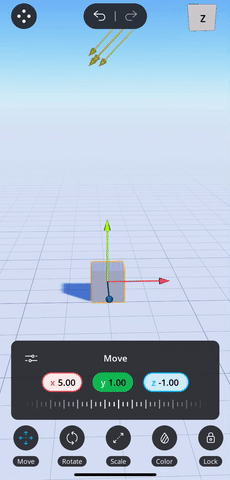
You can move your model in two ways: using position arrows and using the precision panel.
Position Arrows
The three position arrows allow you to move your model exactly along the X, Y and Z axis. Tap and drag a position arrow with your finger to move your model along the axis you want. The following example shows how you can tap the Y position arrow to move your character left and right, and the X position arrow to move your character up and down.
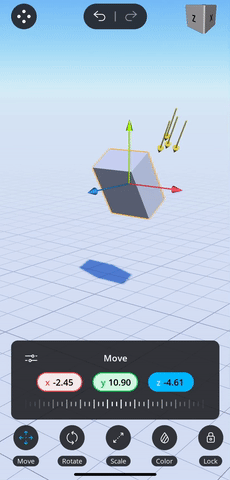
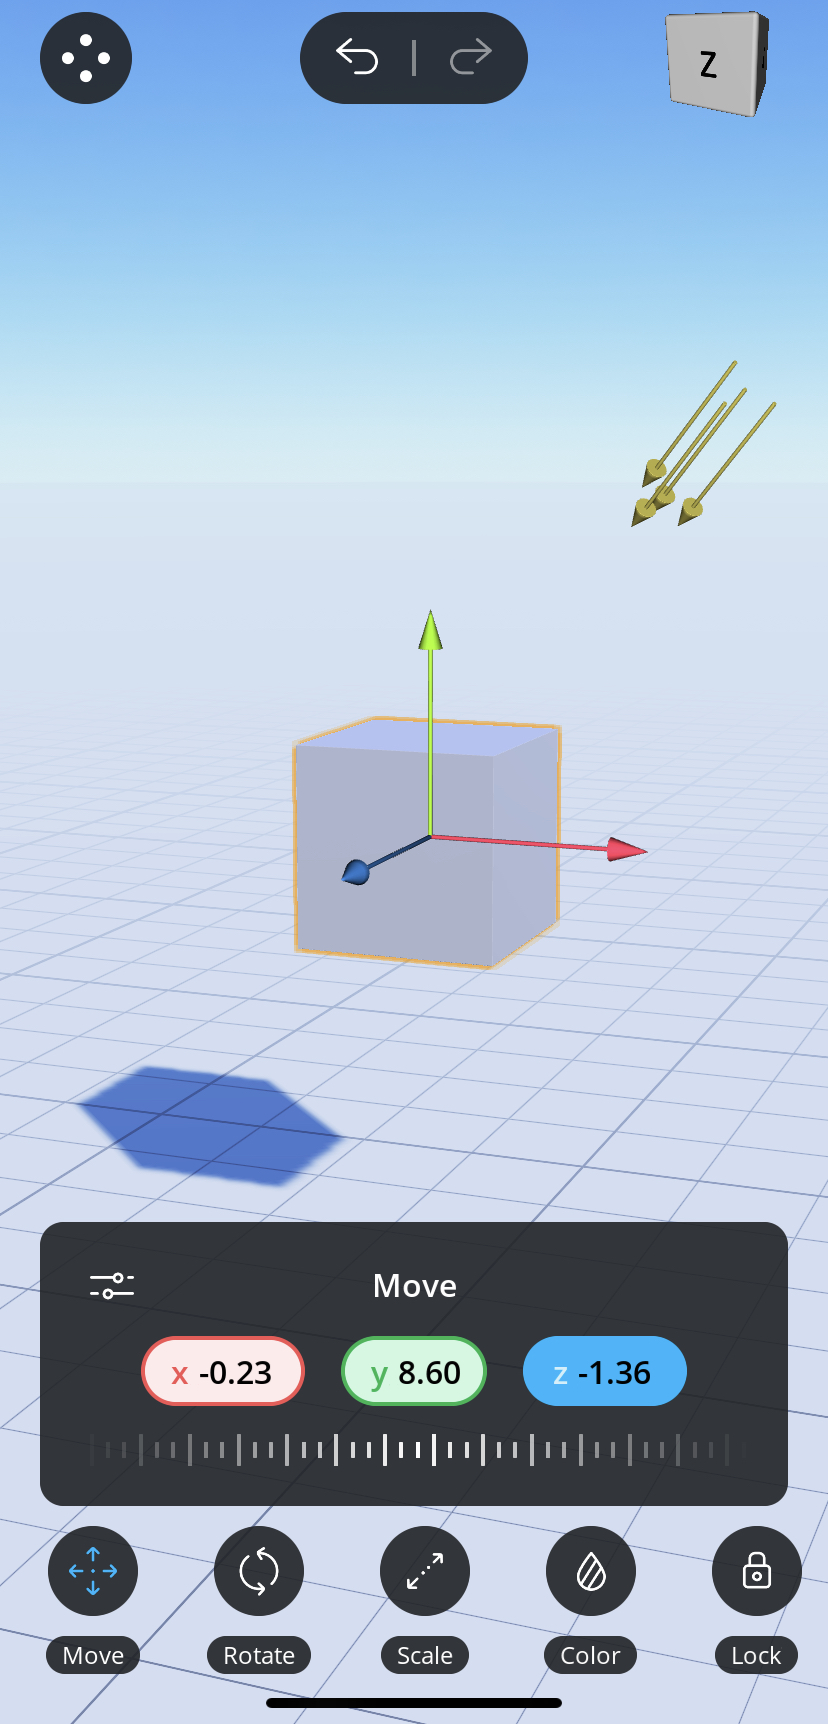
Precision Panel
- Select an axis by tapping on the X, Y and Z buttons


 above the slider.
 - Then tap and drag the slider in the panel to move your model. The following example shows first moving the character along the Z axis (forward and backward) and then along the X axis (left and right).
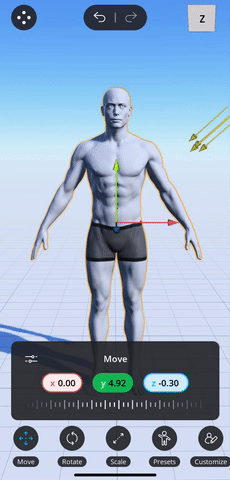
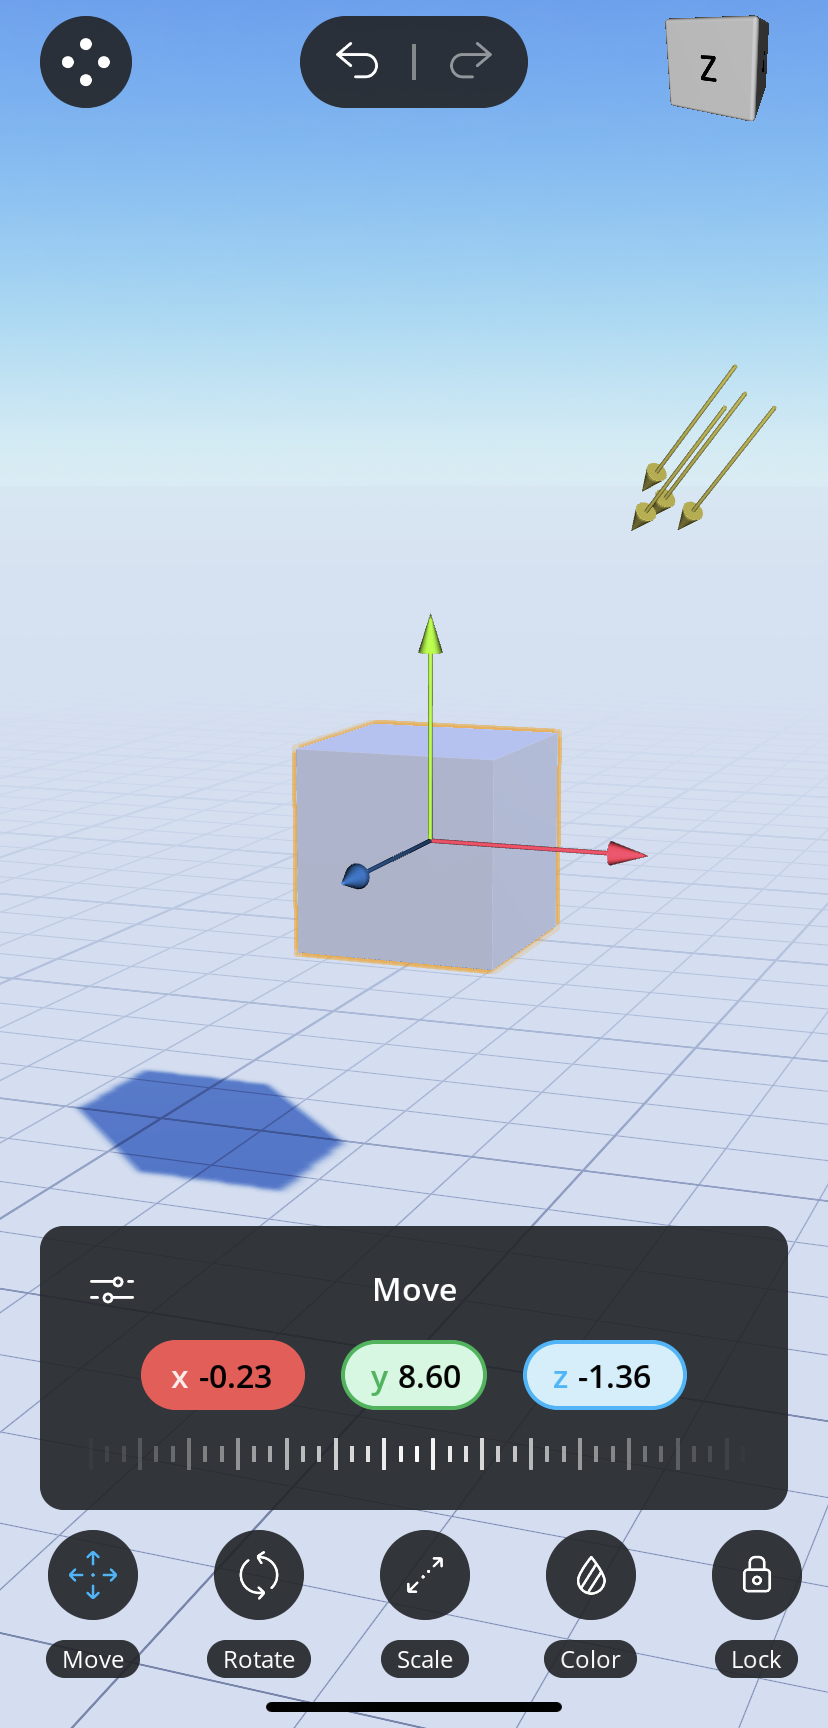
You can use the same controls on any character or light source in your scene as well. The additional examples below show how you can use the Move menu to move a character or a light in the scene.
Advanced move settings
Use local axis
You can switch between global and local axis in Move Settings menu. Global axes are always the same because they are global to the entire 3D scene. Local axes change based on the orientation of the object. In the example below, observe how the global and local axes are the same when the cube is upright, and how they are different when the cube is rotated:
When the cube is upright
1) Global axes
2) Local axes
When the cube is rotated
1) Global axes
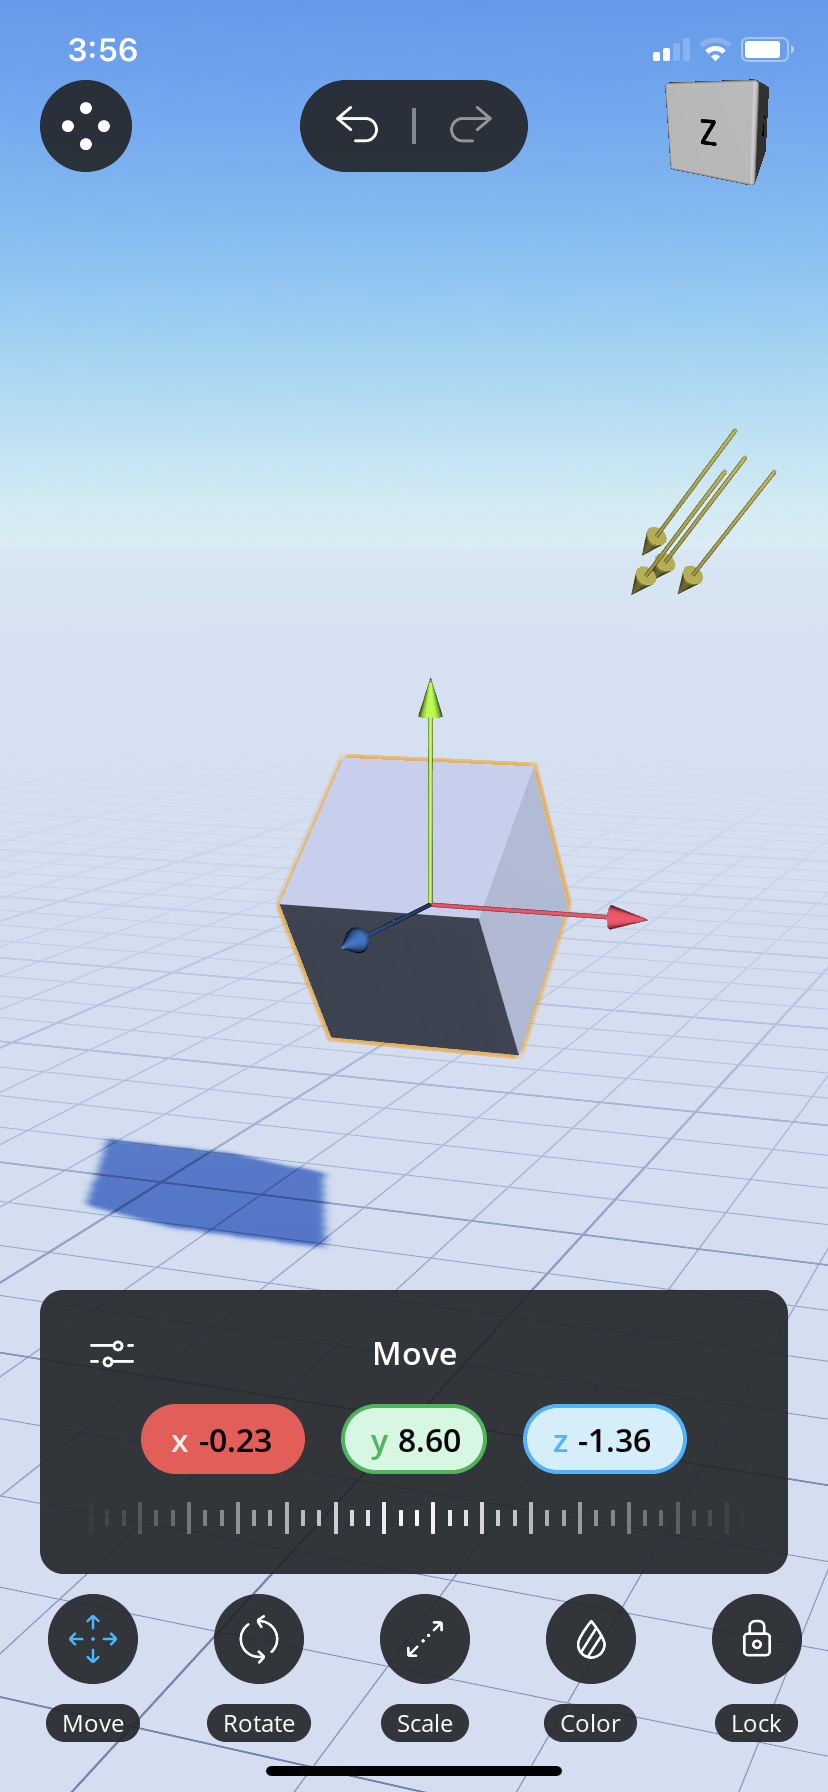
2) Local axes
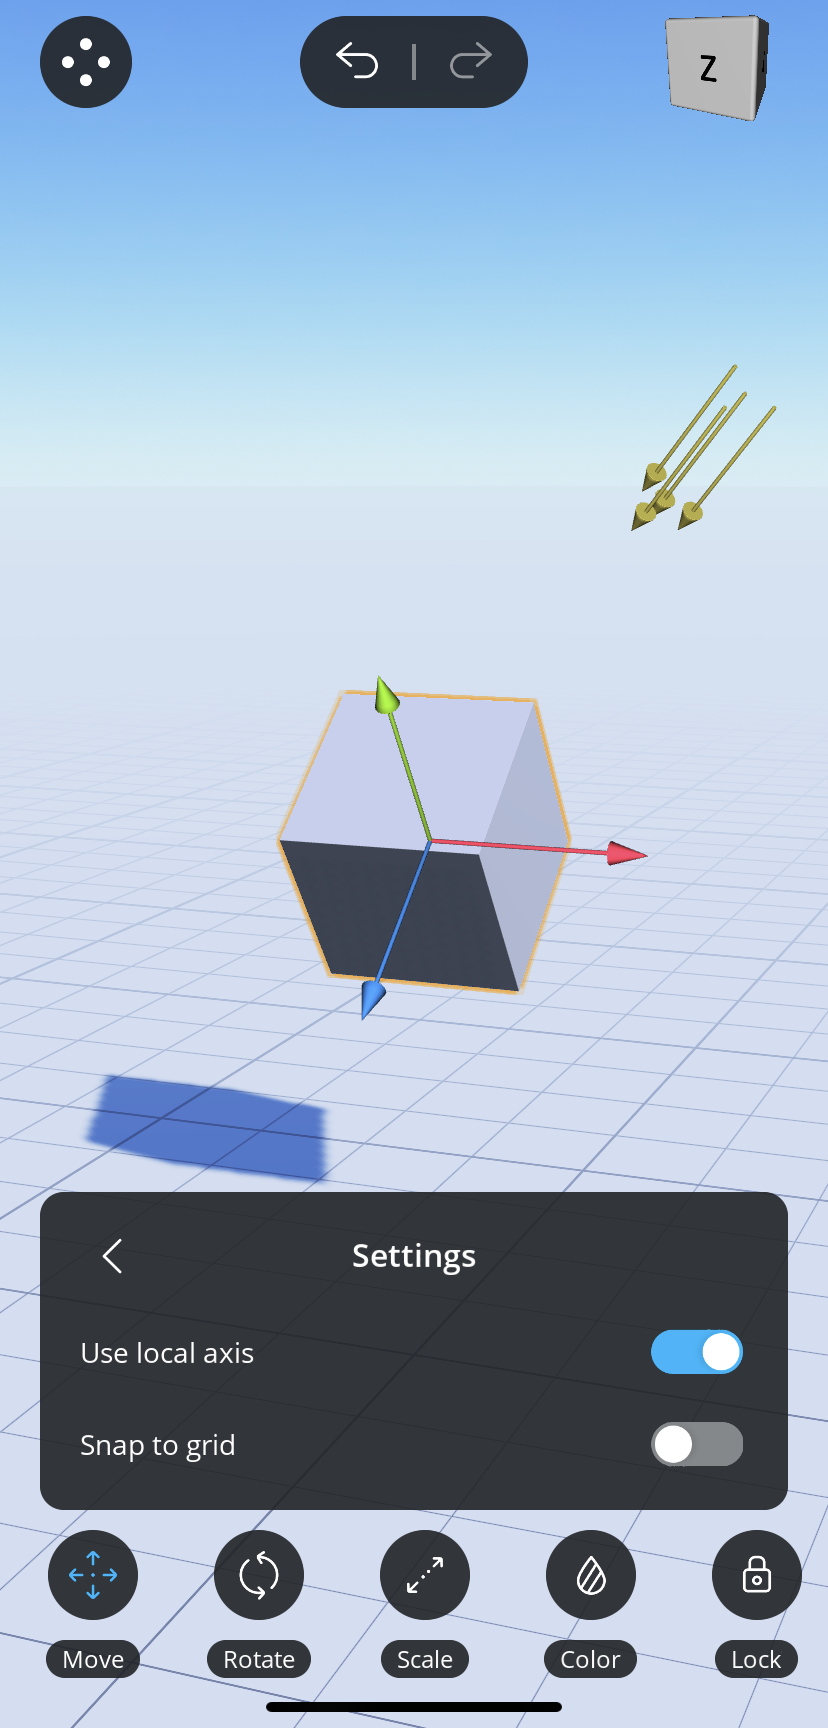
To switch between global and local axis:
- From the Move menu, tap on the Settings button
 .
. - Tap on the "Use local axis" switch to turn local axis on and off.
Snap to grid
When you have "snap to grid" turned on, the object will always move by units of 1.
To turn on snap to grid:
- From the Move menu, tap on the Settings button .
- Tap on the "Snap to grid" switch to turn snapping on and off.
- Observe in the following example how the object moves by units of 1 in the y-axis. (Please note the number change in the green y-axis pill.)
Comments
2 comments
I added "Drag and Move" in this article because I don't see anywhere else that we can talk about it. Therefore I changed the structure of this article to fit that part in. Can you please update the gif to show the position arrows and precision sliders in separate gifs?
Also I combined the "Let's position models" with the previous one to make it a bit more concise. I also think having separate gifs for the position arrows and precision sliders feels more clear.
Please sign in to leave a comment.